

This article offers step-by-step troubleshooting advice for diagnosing a computer that powers on but only shows a black screen. It suggests methodically testing components like the monitor, video cabling, graphics card, motherboard, software, and other parts to isolate the failure. Following the structured layout, you can identify the root cause through substitution and elimination testing. The solutions aim to restore proper video output by checking connections, reseating parts, updating drivers, resetting BIOS and ultimately replacing damaged hardware if needed.
I. Check the Monitor
Start by verifying that the monitor itself is turned on and connected properly. Confirm the monitor’s power cable is plugged into a working outlet. Ensure the monitor’s power button light is illuminated. If it is an LCD monitor, try pressing the Menu button to wake it.
Next, check that the video cable connecting the monitor to the PC is securely attached at both ends, with no bent or broken pins. Attempt wiggling the cable ends while observing the screen for any change. swap out the video cable for a known good one, if available, to isolate the issue. Consider trying different video ports on the PC if there are multiple.
With the monitor confirmed to be on and connected, check for menus and settings that could impact the display. Adjust the brightness up and contrast down in case the backlight or signal is present but weak. Reset the monitor to default settings in case incorrect manual tweaks were made. If another PC is accessible, connect the monitor to test if the display works normally there.
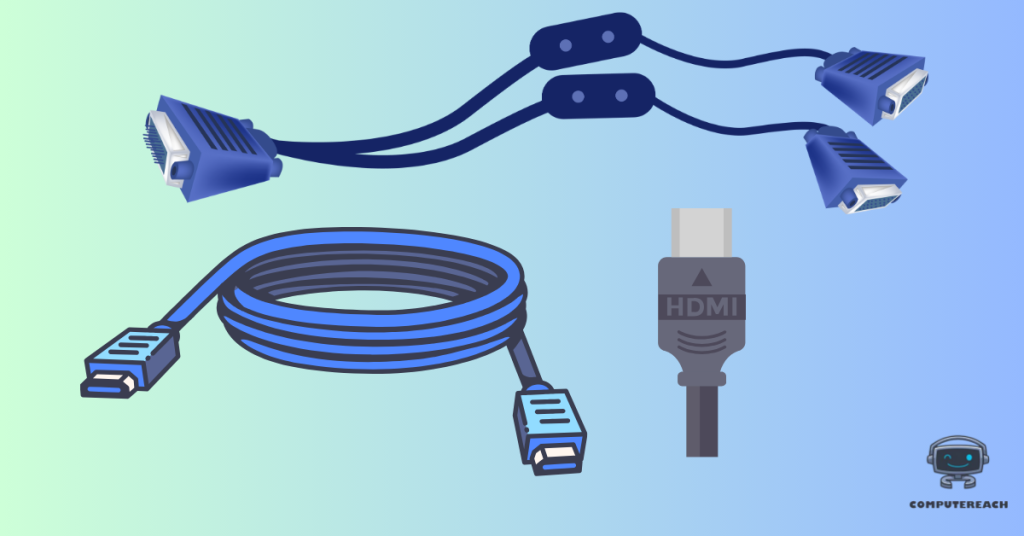
II. Check the Video Cable
Inspect the entire span of the video cable between the monitor and PC, looking for damage like exposed wires or cracked connectors. Ensure it is plugged in completely at both ends with locking tabs engaged and no gaps. Try disconnecting and reconnecting each end, pressing firmly to guarantee proper contact.
Check for bent pins within the cable connectors and straighten if found. Attempt gently cleaning the connectors with compressed air to remove dust buildup on the contacts. Wiggle and apply slight pressure to areas along the cable to test if the video flickers on/off from a bad internal connection.
If possible, swap in a short known good video cable, VGA, DVI, HDMI, or DisplayPort depending on your setup. Test different ports on both the monitor and graphics card in case one went bad. Inspect the port for dust, damage, or foreign objects blocking signal contacts.
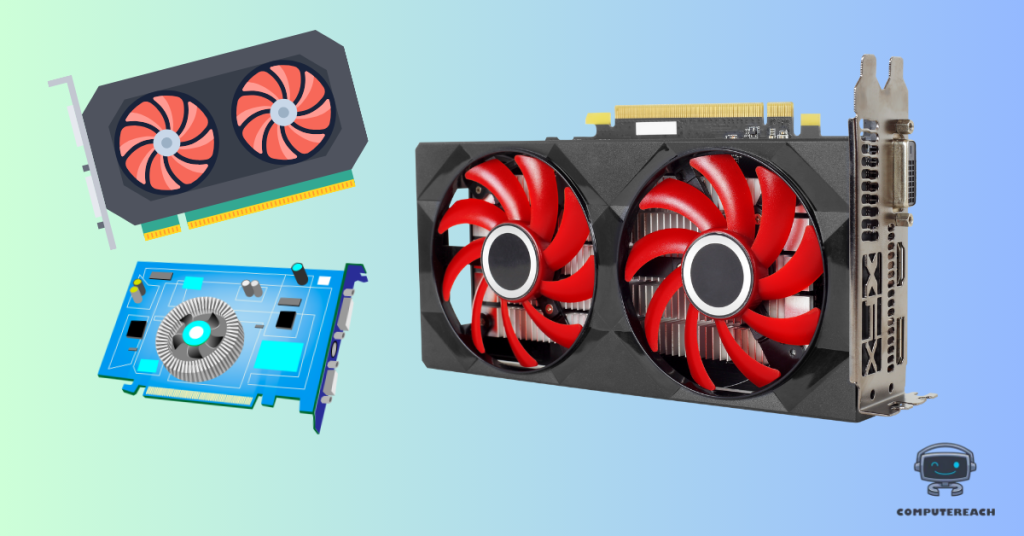
III. Check the Video Card
Confirm your PC uses integrated graphics or has a dedicated video card. For integrated graphics within the CPU, verify the processor is properly installed in the motherboard socket with no bent pins. Reseat the CPU after cleaning any thermal paste off. For a video card, open the case and ensure it is fully seated in the PCIe slot with any retention clips locked.
Reboot the PC and enter the BIOS setup to confirm the video adapter is detected. If no video card is found, power down, remove and carefully reinstall it into the motherboard. Enable any PCIE Gen X options for maximum signal strength. Test its video ports with a known good cable and monitor. If issues persist, try installing a replacement video card to isolate the failure.
Update to the latest graphics drivers from Intel, Nvidia, or AMD appropriate for your hardware. Download an older driver if recent updates are found buggy. Check your version against one known to be stable. Perform a clean install after using the DDU uninstaller in safe mode. Reboot and monitor for improvement.
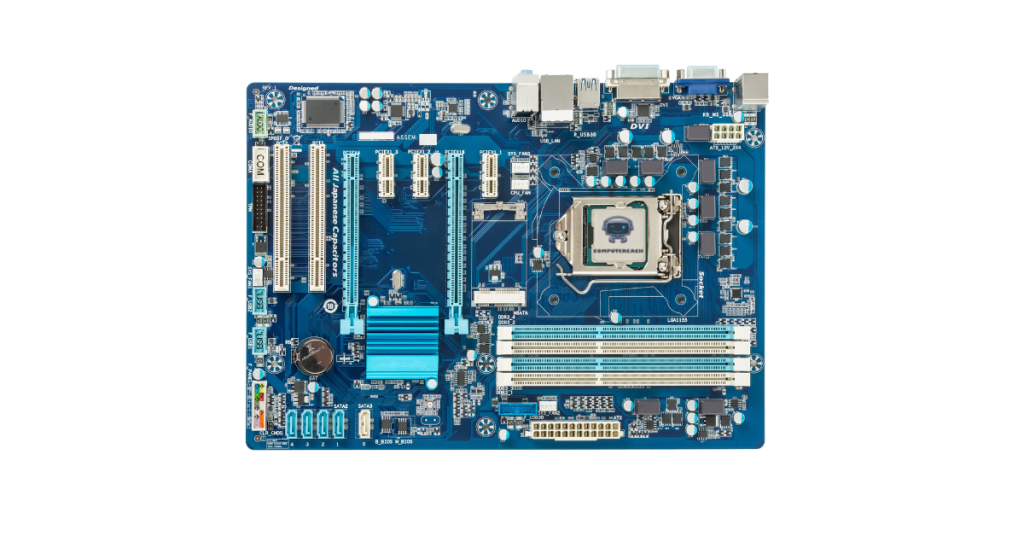
IV. Check the Motherboard
With monitor, cables, and graphics verified, yet the display remains dark, motherboard failure could be preventing video output. Power down, discharge residual electricity, then remove and reinstall the CMOS battery to reset BIOS to default settings. Check for any debug code LEDs or alarm speaker beeps indicating component faults.
Examine for swollen/leaking capacitors and burning smells indicating catastrophic failure. Reseat components like RAM and PCIe cards in case contacts oxidize. If the motherboard appears functional but the video is still absent, replacement may be required. Seek a suitable substitute or contact the manufacturer about potential warranty coverage.
V. Additional Troubleshooting Tips
Boot into Windows Safe Mode using F8 or Shift+Restart to load default graphics drivers in low-resolution mode. If the video appears, investigate any problematic 3rd party software or drivers recently installed prior to failure.
Run display diagnostics like the built-in Windows Display Adapter Troubleshooter for automated checks on connections and settings. Use GPU-Z monitoring utility to validate video card sensor readings like temperature, clocks, and utilization. Search for BIOS updates or chipset drivers from the motherboard OEM in case of compatibility bugs.
As a last resort, dismantle and rebuild the PC from scratch to isolate any short circuits or mounting issues. Inspect inside cases for dust buildup or obstructed fans preventing airflow across critical components. Confirm the CPU cooler is properly attached with thermal paste applied.